Home
Portfolio
Sample Page
Home
Portfolio
Navin Rizwi
Portfolio
All
3D
Apps
Experiential
Video
Web
Compositing Demo Reel
Video
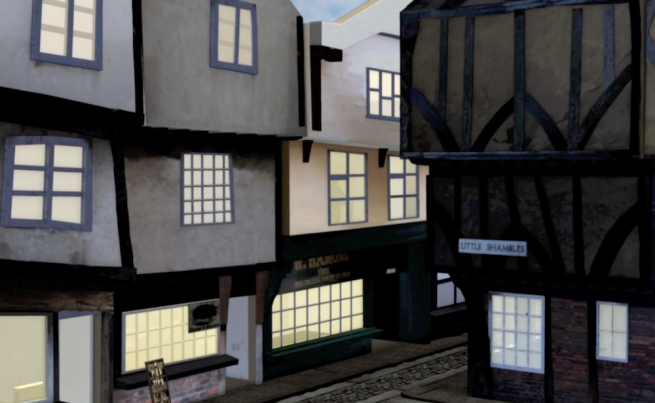
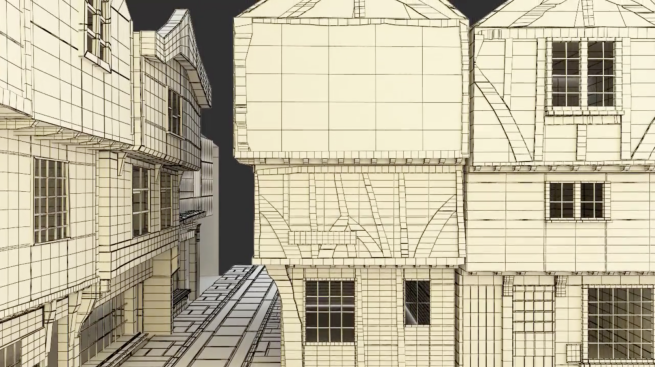
3D Environment Demo Reel
3D
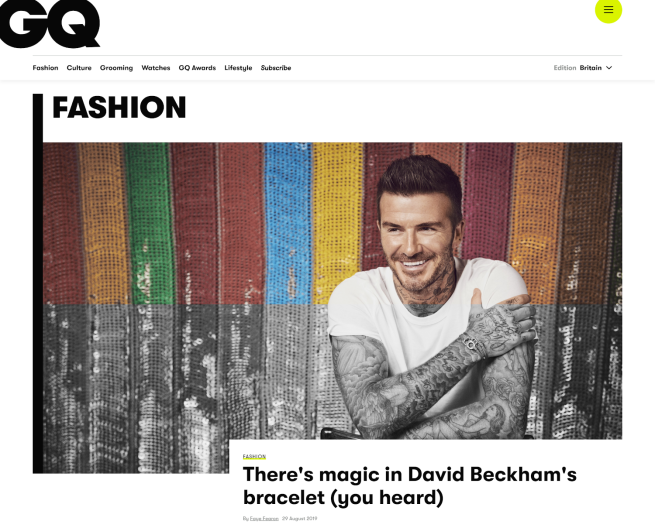
British GQ website
Web
British Vogue website
Web
Nickelodeon (INTL) website
Web
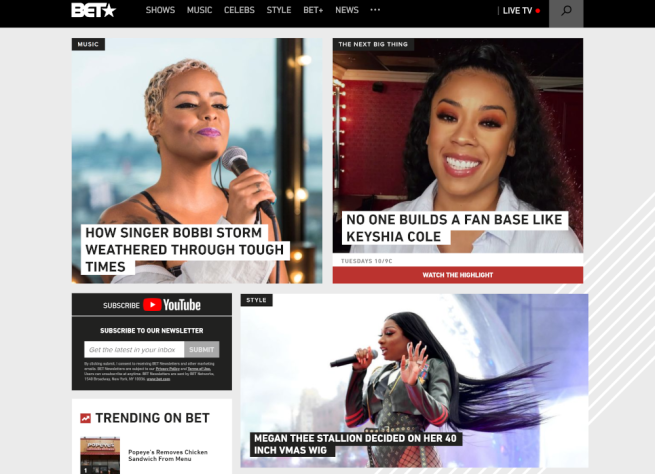
BET.com website redesign
Web
House & Garden The List
Web
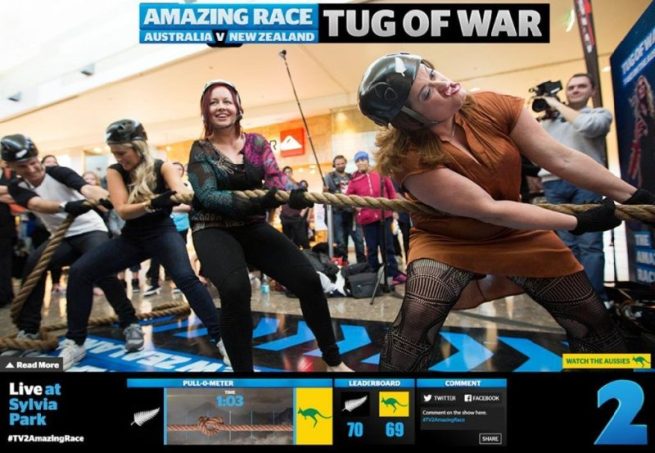
Amazing Race Tug-of-War
Experiential
,
Web
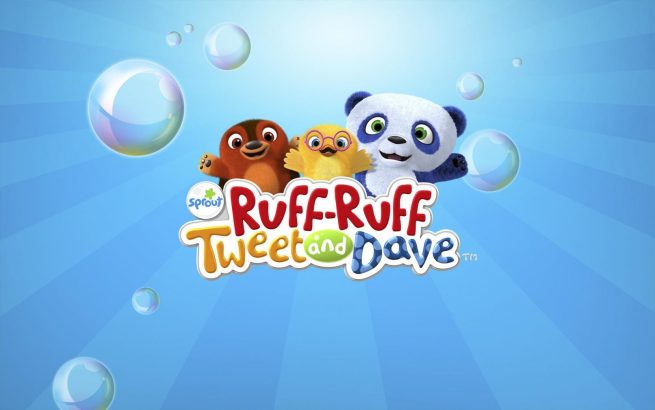
Ruff Ruff Tweet and Dave Second Screen App
Apps
Glamour Beauty Club
Web
1
2